
Introduction
A young professional walks into a clinic before a holiday trip, hoping to look fresh in photos without a long recovery. Hyaluronic acid gel comes up in the first consult as a quiet, safe option. Data from clinics in Asia show a steady rise in nonsurgical nose fixes over the last three years, driven by lower downtime and predictable comfort. But here is the question that matters: if the tools seem similar, why do some noses look sharp and natural while others look stiff? (And why do some results fade unevenly?) In Nepal, we like practical choices, so we look for clear answers and calm results—no drama.
This article takes a comparative view. We place common methods side by side and track what actually changes the lines of the nose bridge, tip, and radix. We also examine how technique, product rheology, and aftercare shape the final look. The goal is simple: to help you ask better questions at your next consult and reduce regret later. Let us begin with how different paths create different outcomes, then move deeper into the method most people now choose.
Part 1 — Where Methods Diverge (A Comparative Map)
Three paths compete in many clinics: surgical rhinoplasty, thread lifting, and filler shaping. Surgery can fix structure, but it brings swelling, longer leave from work, and a bigger bill. Thread lifts promise quick lift, yet threads may migrate or feel palpable in thin skin. Filler shaping sits in the middle. It is reversible, fast, and more adjustable. Still, the final look depends on small things that many miss—funny how that works, right?
The nose is a high-tension zone. Product choice and placement matter a lot. A gel with higher G’ (elastic modulus) resists flattening and stays put on the dorsum. A gel with tuned cohesivity holds shape without spreading into side walls. If the cross-linking density is too low, the bridge can blur under pressure from glasses. If the viscoelasticity is wrong, tip definition can wobble with expression. Technique also matters: a blunt cannula reduces bruising, but a sharp needle can place micro-boluses with more precision in firm planes. These details explain why one friend’s result looks crisp while another’s looks puffy. And they reveal a hidden pain point: many “average” results come from a mismatch between product rheology and nasal anatomy, not from the idea of filler itself.
Part 2 — The Deeper Layer of Nose Filler Decisions
What actually drives a clean, stable bridge?
When we talk about nose filler injections, the science is not hard. Look, it’s simpler than you think. The gel must resist compression, glide under shear, and integrate with tissue planes. That is why viscoelastic profiles matter. Higher G’ aids projection; balanced cohesivity prevents lateral spread. Cross-linking density shapes both. A shear-thinning gel flows under pressure through a fine needle, then firms up in place. If your provider understands depth—supraperiosteal on the radix, controlled microthreads on the dorsum—the bridge looks straight, not bulky. Add ultrasound mapping when needed, and vascular safety improves in real time. The old flaw was not fillers; it was generic selection and guesswork on planes.
Another point is comfort and safety. Lidocaine-buffered gels reduce injection pain. A cannula can lower bruising in the midline, but needles can mark fine angles near the tip. Both tools have a role. The trick is matching technique to tissue thickness and skin elasticity. Overcorrection is a common hidden pain point. It happens when the operator tries to “fix” asymmetry by volume instead of by vector and plane. A slower, layered approach lets the gel settle and shows the true contour. That patience, not more product, is what keeps results stable across weeks.
Part 3 — Looking Ahead with Principles and Proof
What’s Next
The next wave is about smarter gels and clearer plans. New blends of hyaluronic acid gels use hybrid cross-linking to tune both lift and spread. Think of a scaffold that is firm along the bridge, yet gentle at the soft tissue triangle—two behaviors, one syringe. Add ultrasound-guided mapping, and you can trace safe corridors before the first pass. AI photo analysis is entering clinics too. It flags micro-deviations in radix height so the plan uses vectors, not guesswork. Small extras—sterile barrier tips, slower extrusion with torque-controlled syringes—help the gel sit where it should. Different tone, same aim: clarity and control.
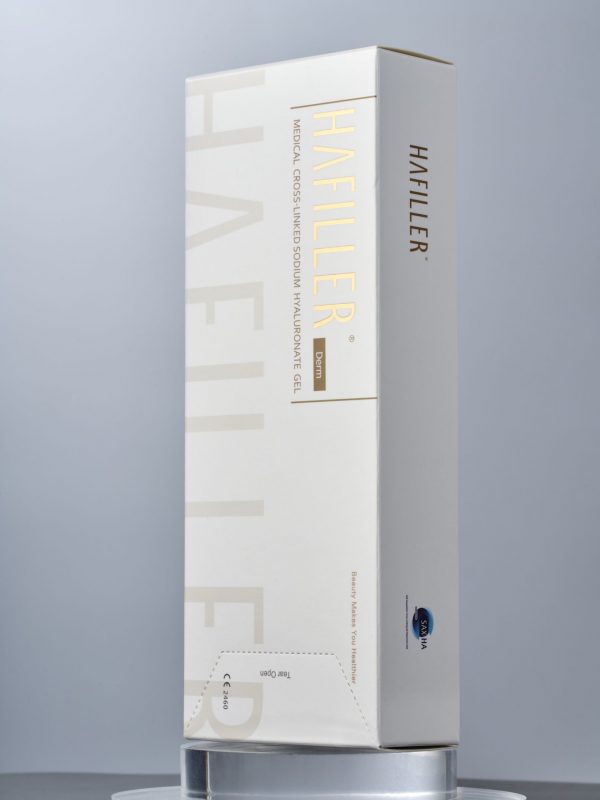
We have learned that “natural” is the output of precise inputs. Choose gels with clear rheology data, not just brand names. Ask for a plan that explains depth, vectors, and expected resorption over months. Then compare aftercare: compression points from glasses, gym timing, and review visits. For practical selection, use three metrics: targeted G’ and cohesivity for the nose zone; plane-specific technique (needle vs cannula) with ultrasound when needed; and follow-up protocol that measures symmetry at 2 and 6 weeks. With these, you can predict the look and the lifespan—steady, not lucky. If you want a calm place to start learning about materials and indications, you may explore resources from HAFILLER—and speak with your local clinician for personal advice.